
Stretching of Canvas
The simplest way of fixing your canvas print on a stretcher is to use your local vendor who does wooden framings.
Incase you want to do it yourlself, simply buy a readymade stretcher or ask your local vendor to give you a custome size stretcher or if you have a carpenter, he can too make a strethcer for you.
Use following tips if you want to mount your canvas print on a stretcher:
Before you begin, here is a list of thing you may require
- Stretcher or wooden frame of correct size
- Staple gun and plenty of staples (T50 or the equivalent work well)
- Fabric scissors
- Canvas pliers (optional; available at most arts and craft stores)
- A flat, clean surface to work on
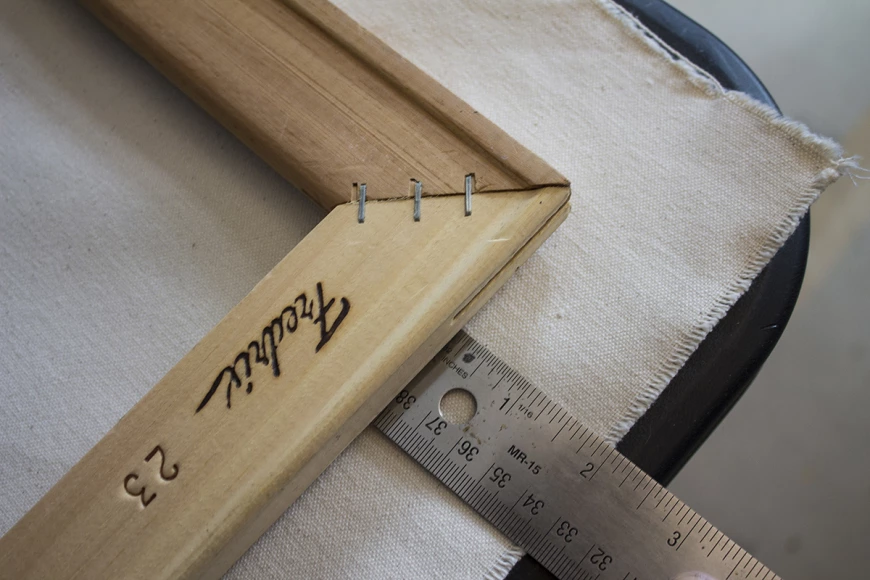
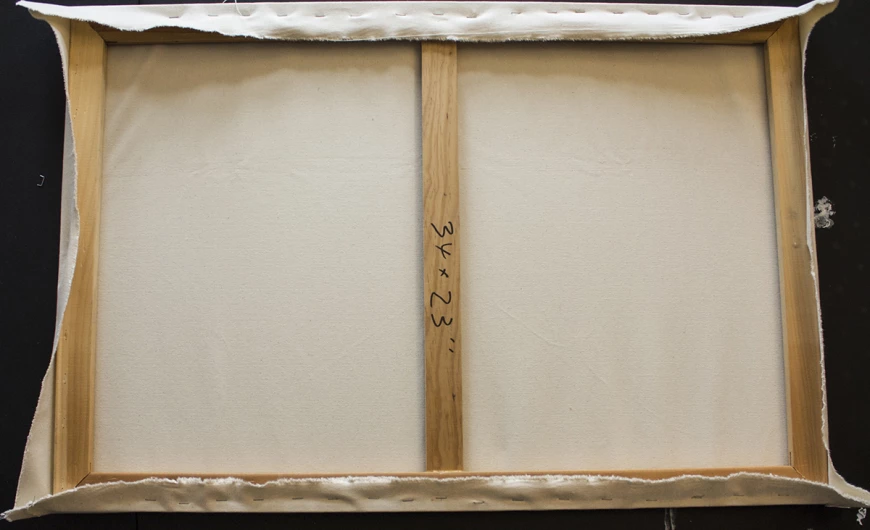
Make sure that you order stretcher as per the size you ordered on our portal. We provide 2 inch extra white margin on all sides for each print. This should be used as area for stapling the canvas print on the stretcher or wooden frame.
For example, if you have ordered a print of 31 inches x 22 inches, we will send you a print of 35 inches x 26 inches which includes extra 2 inch staple margin on all sides.
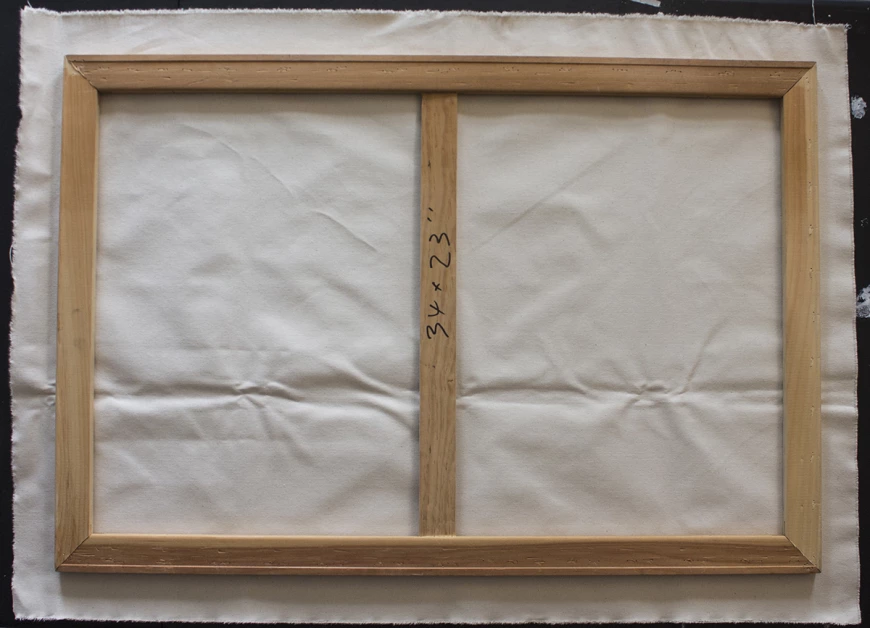
Place the canvas in the center of the cut fabric
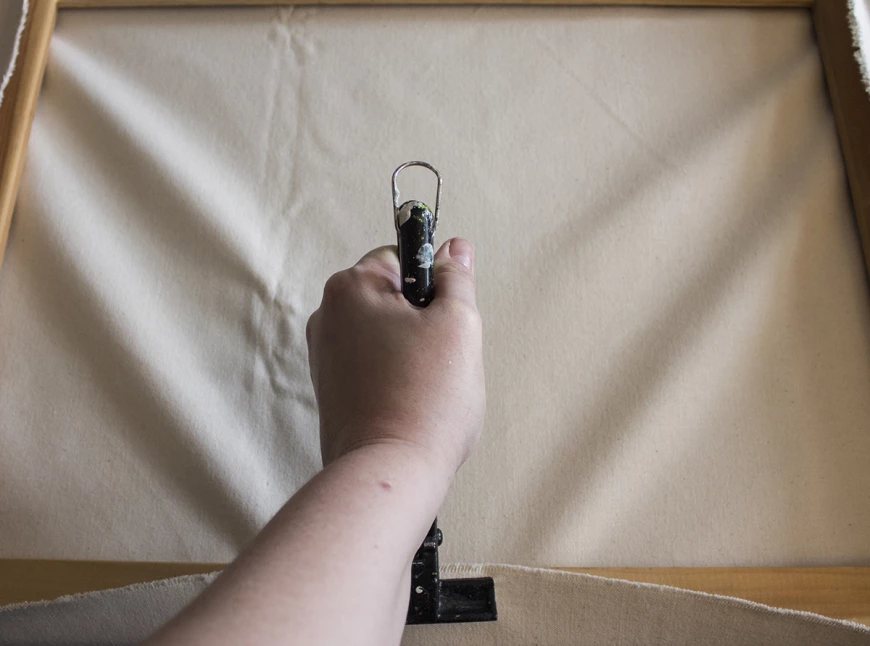
Tack the center of each side with a singular staple and use the canvas pliers to pull halfway taut on each side. You will be able to tell you’ve pulled it tight enough by noticing v-shaped pulls in the fabric forming on either side of the point you’ve tacked.
Tack the long sides first and then the shorter sides. Make sure that the centre of the print is properly stretched and firm.
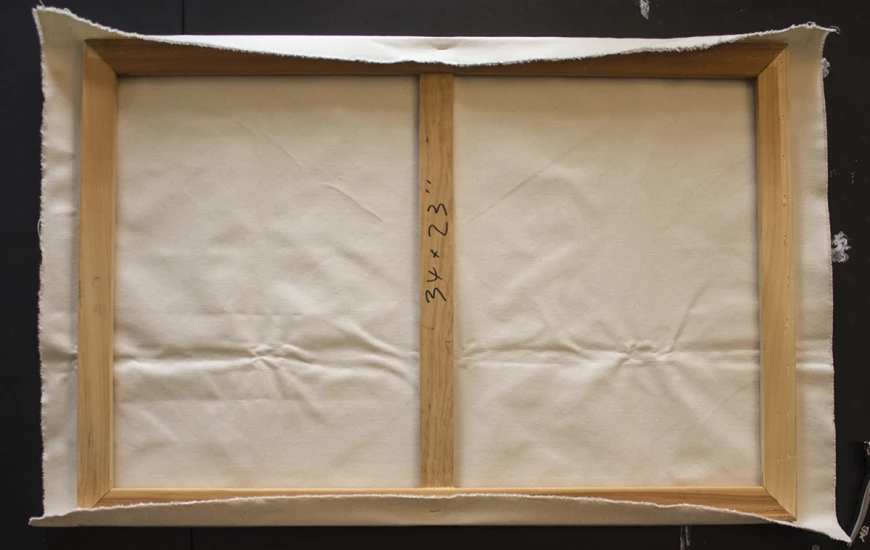
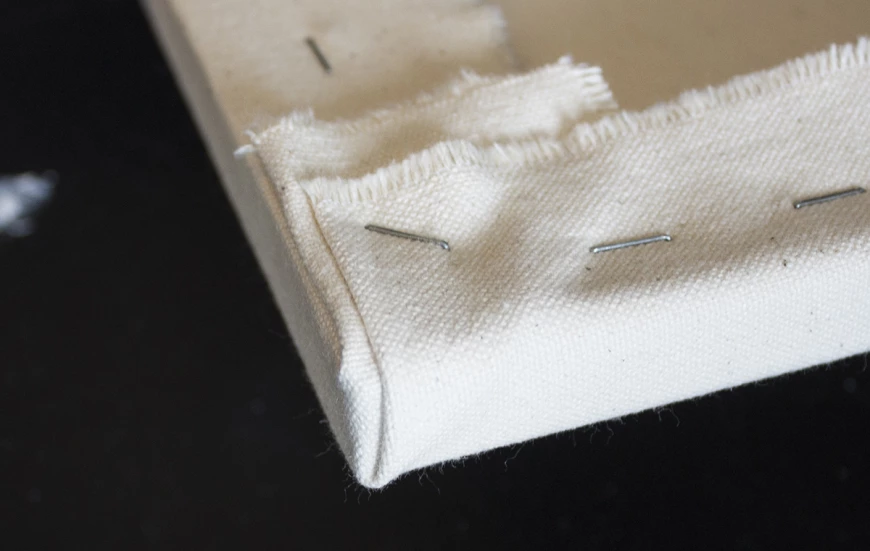
- Once each side is tacked in the center, choose one of the longest sides. Begin to stretch with the pliers and tack staples working from the center out on each side. It is fine to do one half at each time leading towards the corners. Leave at least two inches at the corners untacked for now. Each staple should be approximately one inch apart. An easy way to measure this is to make it about the distance of your thumb pad.
- Once you’ve tacked one side, move to the opposite side and staple in the same way. It’s important to alternate opposing sides. Then move to the short sides and apply the same strategy, work from the center out and stretch across.
- Once you’re finished tacking all the sides except for the corners, it’s a good time to take a look at the front. If there are any bunches or defined ripples, remove your staples and restretch. If the ripples or wrinkles are small, leave them. At the end of our instructions there is a solution for how to remove these unattractive marks in the fabric.
Moving from the center to the corner tack one side, and then the other. Make sure that the print remains stretched and firm.
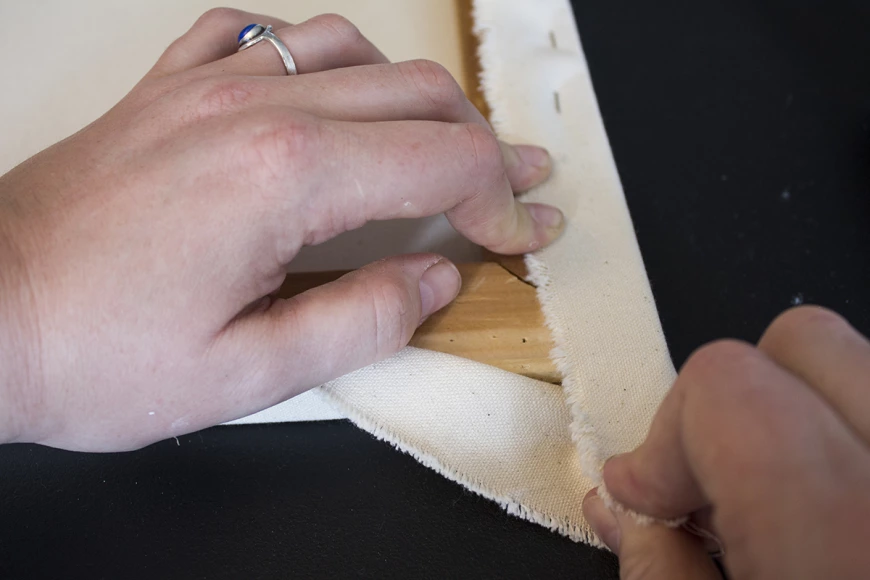
Corners are the most difficult part of stretching a canvas. However, once you understand how to fold them it is an easy task to repeat. Pull the fabric on that corner towards you. Smooth out the opposite sides canvas against the depth of the stretcher bars. Pull straight and away from the corner as if you are continuing out from the smooth side of the canvas.
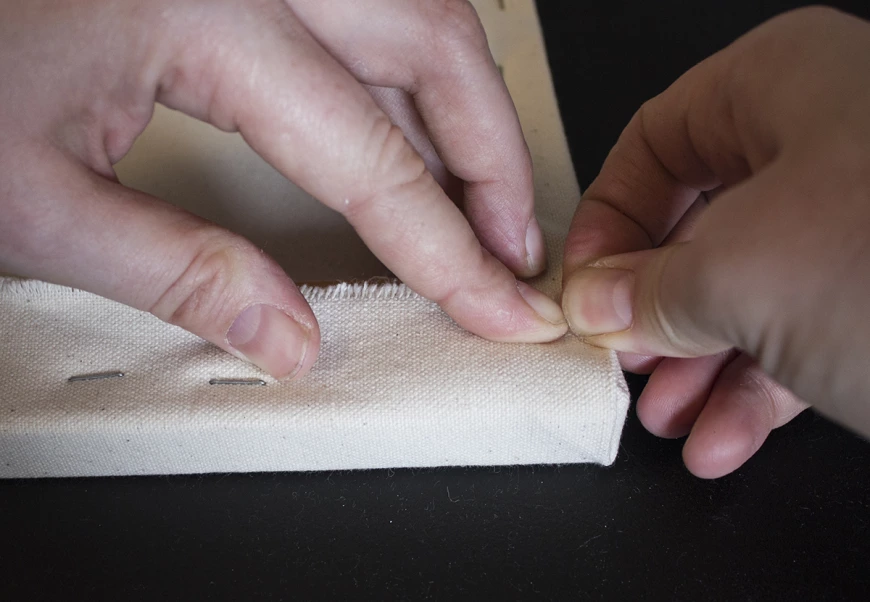
Take the loose canvas remaining on this side and pull it up and over. If the inner folded fabric becomes loosened, stretch it flat again and repeat the process.
Once the fabric lays flat, pull up and over, and hold it down to staple.
General care & Maintenance of canvas Print
With proper care and handling, your canvas print will last for many years. Here are a few tips on how to care for your canvas print.
Follow these recommendations:
- Avoid displaying your print in direct sunlight or bright indirect un-UV filtered sunlight as well as fluorescent lighting. Sunlight and fluorescent lights both emit UV light that can fade and damage prints over time.
- If you must handle the print, don’t put pressure on the image, a canvas is fabric and will stretch or tear if care isn’t taken. Always hold onto the sides where the stretcher bars are located.
- Never attempt to rub the surface of the image with your finger or fingernail as this could scratch the surface of the print.
- Lightly dust your print with a soft cloth or duster on a regular basis to prevent any dust buildup.
- If necessary, gently wipe your print with a soft cloth that has been slightly dampened with water.
- Never use chemicals to clean your print. Your print has been treated with a UV protective coating that can break down if cleaned with chemicals.
- Canvas needs to breath, so don’t store prints in airtight containers such as plastic bags or behind glass. Moisture may become trapped inside causing damage to the image. Canvas experiences small, subtle shifts over time due to mild atmospheric changes, so it’s best to display them to allow for natural airflow.
- It is not advisable to display your print where air pollutants, heat and high humidity can be of concern. Kitchens, bathrooms, or heat sources such as forced air vents and radiators should be avoided.